Welcome To Our Official Website, And We Will Provide You With Excellent Service.

Custom Knit Sweaters – The Complete Designing Guide
Designing a custom knit sweater can feel both exciting and intimidating. You want something that perfectly reflects your taste and needs, yet the process — from yarn selection to pattern drafting — can seem overwhelming. Don’t worry, I’ve been there too. In this guide, I’ll walk you through each step of creating a personalized knit sweater that feels just right, both in comfort and style.

1. Start with a Clear Concept
Define Your Purpose and Style
Before sketching anything, think about why you’re making this sweater. Is it for casual wear, a formal event, a special gift, or your upcoming winter collection? Once that’s clear, pick a silhouette that suits the purpose — maybe a cozy pullover, a smart cardigan, or a relaxed oversized fit.
If you’re designing for someone else, visualize their personality and preferences; if it’s for yourself, make sure it expresses your individuality.
Gather Inspiration
I like to collect ideas from nature, street style, or even vintage patterns. Pin down your color palette, texture preferences, and key details through mood boards or rough sketches. This creative exploration lays the foundation for your final design.
2. Prepare Your Materials and Tools
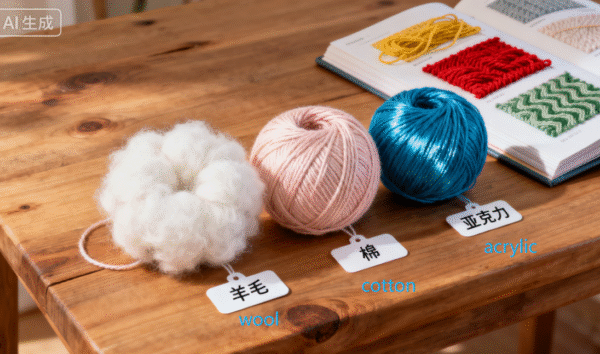
Choose the Right Yarn
The yarn defines how your sweater feels and performs. Wool offers warmth, cotton feels breathable, acrylic adds durability, and blended yarns combine the best of all worlds. Pay attention to yarn weight, thickness, and texture to ensure it matches your design vision. Selecting the right color shades also helps bring your idea to life.
Gather Essential Tools
Before you begin, make sure you have everything ready — the right knitting needles (circular, straight, or double-pointed), stitch markers, measuring tape, scissors, and blocking mats. Staying organized makes the process smoother and far more enjoyable.

3. Create and Refine Your Pattern
Design or Customize a Pattern
You can start from scratch using graph paper or pattern software, or adapt an existing template by adding new elements like cables, lacework, or textured stitches. Small tweaks often make your design truly one-of-a-kind.
Add Thoughtful Design Features
Details give your sweater character. Play with neckline styles — V-neck, turtleneck, or shawl collar. Choose hem and ribbing finishes for structure. Don’t forget the little things: pockets, buttons, or embroidery can elevate a simple sweater into something memorable.
Focus on Fit
Take accurate measurements for chest, sleeve length, and armhole depth. Account for wearing ease — you want it snug but not tight. Translating these dimensions into your pattern ensures the final piece fits beautifully.
4. Test and Finalize
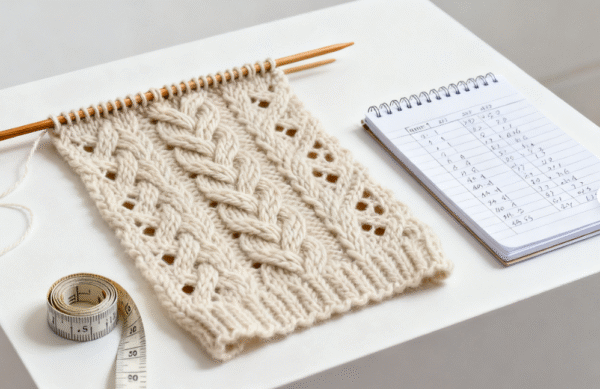
Knit Swatches for Accuracy
Swatching is essential. It tells you how the yarn behaves, what tension works best, and how the finished fabric will look and feel. After knitting your swatch, wash and block it to see how it reacts. This step saves time and disappointment later.
Refine Your Materials and Design
Use what you learn from the swatch to finalize your yarn choice, needle size, and stitch patterns. Fine-tuning now ensures a professional outcome later.
5. Bring Your Sweater to Life
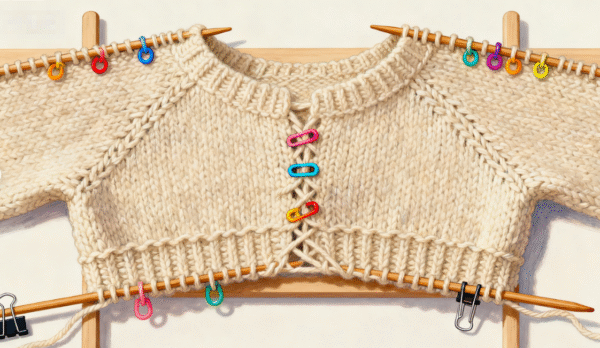
Start with the Back Panel
Begin knitting the back panel based on your pattern and gauge. Use shaping techniques for waistlines or A-line designs as needed. Precision here determines the overall fit.
Move to the Front Panel
Next, knit the front panel. Carefully shape the neckline and match the back’s proportions. If making a cardigan, remember to leave space for button bands or zippers.
Knit the Sleeves
Measure sleeve length and width, then distribute increases or decreases evenly. This keeps your sleeves balanced and comfortable to wear.
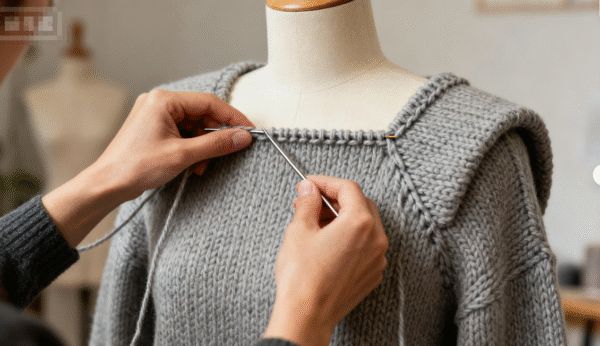
6. Join and Finish
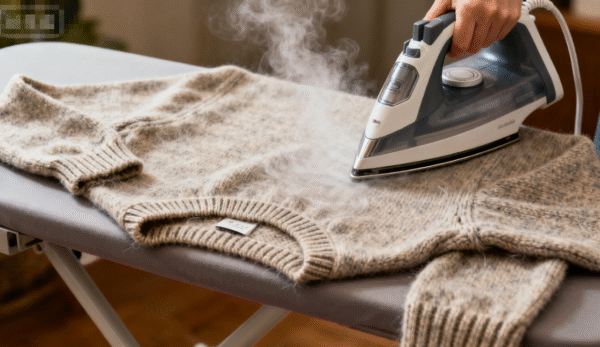
Assemble and Block
Once all parts are ready, use seaming methods like mattress stitch for neat, invisible joins. Block your sweater again — this aligns stitches and enhances drape.
Add Final Touches
Attach collars, buttons, or any decorative elements you planned. Tidy the edges, secure loose threads, and admire how your work has come together.
7. Evaluate and Celebrate
Test the Fit
Try the sweater on or have the recipient wear it. Check the comfort and overall look. A few small adjustments can transform a good sweater into a perfect one.
Document the Process
Record the materials, tools, and any special techniques you used. Photos of your finished piece are a great way to share your craft — and they’ll inspire future designs.

Final Thoughts
Designing a custom knit sweater is more than just a project — it’s a creative journey. Every stitch reflects your patience, imagination, and craftsmanship. Take your time, enjoy each stage, and let the process teach you something new. With care and attention, your dream sweater will soon become a warm, cozy reality — one you can proudly call your own.
How useful was this post?
Click on a star to rate it!
Average rating 0 / 5. Vote count: 0
No votes so far! Be the first to rate this post.